


 +86 152 6060 5085
 English
 русский
 español
 português
 العربية
 Polski
- Home
- Products
- News
- Blog
- About Us
- Contact Us

Blog
Catalog
1. Scope of application
This method uses a hydraulic burst strength tester to measure the burst resistance of textiles. This method is widely used in various textile products. Also suitable for elastic woven fabrics or for industrial fabrics.
2.Principle
The specimen is fixed on a deformable membrane and the membrane is hydraulically squeezed until the fabric bursts. The difference between the total pressure required to burst the sample and the pressure required to squeeze the film is the fabric bursting strength.
3. Equipment
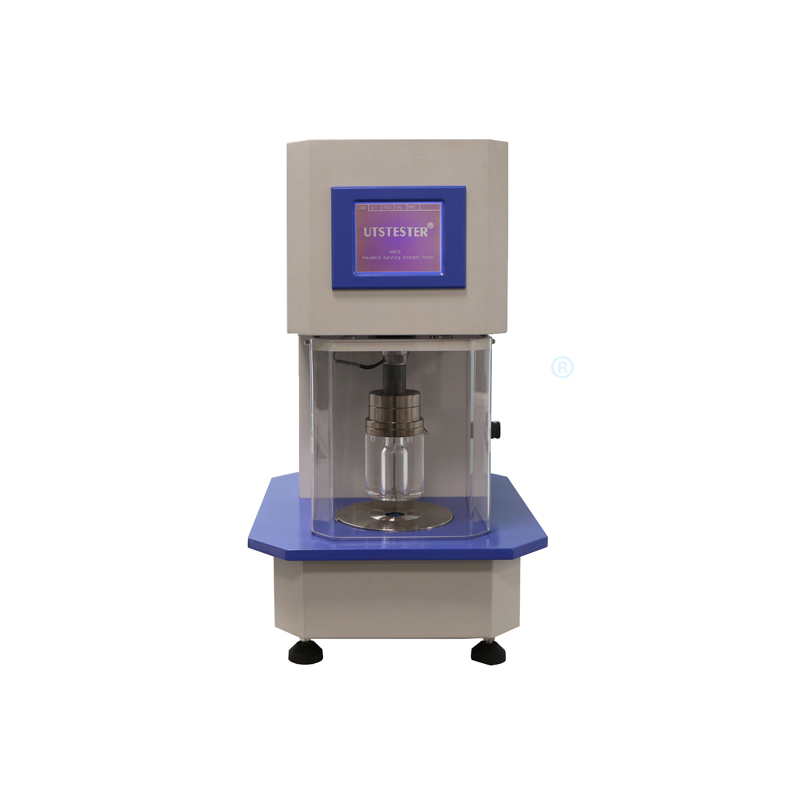
Hydraulic Bursting Strength Meter
The surface of the upper and lower clamps should be a circular ring with a diameter of 75mm (3in) and a coaxial hole diameter of 31±0.75mm (1.22±0.03in).
The cavity of the lower chuck can provide a constant and uniform hydraulic pressure of 95±5ml/min to the film.
For pressure gauges, all pressure readings should be between 25% and 75% of the maximum range of the pressure gauge.
Calibration Test with Aluminum Foil - Several pieces of aluminum foil with known burst strength in the range of 70-970 (10-115psi) are used to check the performance of the tester.
4. Preparation of specimens
4.1 Batch sampling
4.2 Laboratory sampling
4.3 Test samples - Take 10 samples from each sample, each sample is at least 125mm2 or a circle with a diameter of 125mm.
4.4 Place the sample (or experimental sample) into the standard environment for textile testing required by D1776
5. Correction
5.1 Routine calibration of the tester - test five pieces of standard aluminum foil to check the tester, at least once a month. The average bursting strength of the five pieces of standard aluminum foil should not exceed ±5% of the value on the aluminum foil packaging.
5.2 Calibration of the pressure gauge - Calibrate the pressure gauge to the same inclination angle as when used, and use the piston or mercury column pressure correction method. When calibrating, it is best to place the pressure gauge in the position it is in during normal use.
5.3 If agreement cannot be reached, inspect the tester in accordance with Tappi Method T-403OS-74.
6. Operation steps
6.1 Please place all test samples in the standard testing environment described in 4.4 for humidity control.
6.2 Manual tester
6.2.1 Place the humidity-balanced sample under the tripod, tighten the sample along the plane, and move the clamping ring as far to the right as possible to clamp the sample in the correct position. Note: For specimens with greater elasticity, the cloth must be spread evenly on a flat surface and some elasticity must be removed before clamping.
6.2.2 Turn the handle counterclockwise at a speed of 120 rpm until the sample breaks.
6.2.3 Stop turning the handle at the moment the specimen breaks. Note: If the dial shows that the pressure has stopped rising, but the specimen has not broken yet, push the operating lever to remove the pressure. Record the elongation of the sample beyond the measuring limit of the testing machine. If the specimen slips during the test, discard it and repeat the test.
6.2.4 After the sample bursts, please quickly release the clamp ring clamped on the sample, rotate the handle in the counterclockwise direction of pressurization to release the pressure, and record the pressure required to expand the film (skin pressure) and record the burst. The total pressure required for the specimen.
6.3 Automatic tester
6.3.1 Place the humidity-balanced sample under the tripod, tighten the sample along the plane, and move the clamping ring as far to the right as possible to clamp the sample in the correct position.
6.3.2 When the film expands, place the latch (used to hold the operating handle) downward or to the right. When the sample breaks, try to rotate the latch so that the operating handle is as centered as possible. At this time, neither pressure nor pressure is applied. Reduce the pressure and record the total pressure required to burst the specimen.
6.3.3 When the sample breaks, release the clamp ring on the sample, immediately push the latch back to its normal position to relieve the pressure on the film, turn the operating handle to the right, and record the pressure required to expand the film ( skin pressure).
7. Calculation
7.1 Calculate the bursting strength of each specimen by subtracting the total pressure required to deform the film from the total pressure required to burst the specimen.
7.2 Report the burst strength of each sample and the average burst strength of batch and laboratory samples.
7.3 Report the type of instrument used for the test.
8.Test report
8.1 Indicate that the sample was tested in accordance with the method of ASTM D 3786 hydraulic burst strength tester. Describe the raw material or product sampled and the method used for sampling.
8.2 Report the bursting strength of each sample and their average value in kPa (psi).
8.3 Indicate the model of tester used.
Email: hello@utstesters.com
Direct: + 86 152 6060 5085
Tel: +86-596-7686689
Web: www.utstesters.com

Room 312, Block D, Jiayuan Garden, No.2 Zhongfa Road, Zhangzhou City, Fujian Province, China

+86 152 6060 5085

+86 596 7686689


 hello@utstesters.com
 hello@utstesters.com
 +86 152 6060 5085
 +8615260605085